Add and manage pupils
What a pupil record contains
The Students screen brings together pupil identity, contact details and links to teaching and finance records. A correct email address matters because it connects the pupil’s login with their lessons.
Add and review a pupil
- Open Students and use the add action.
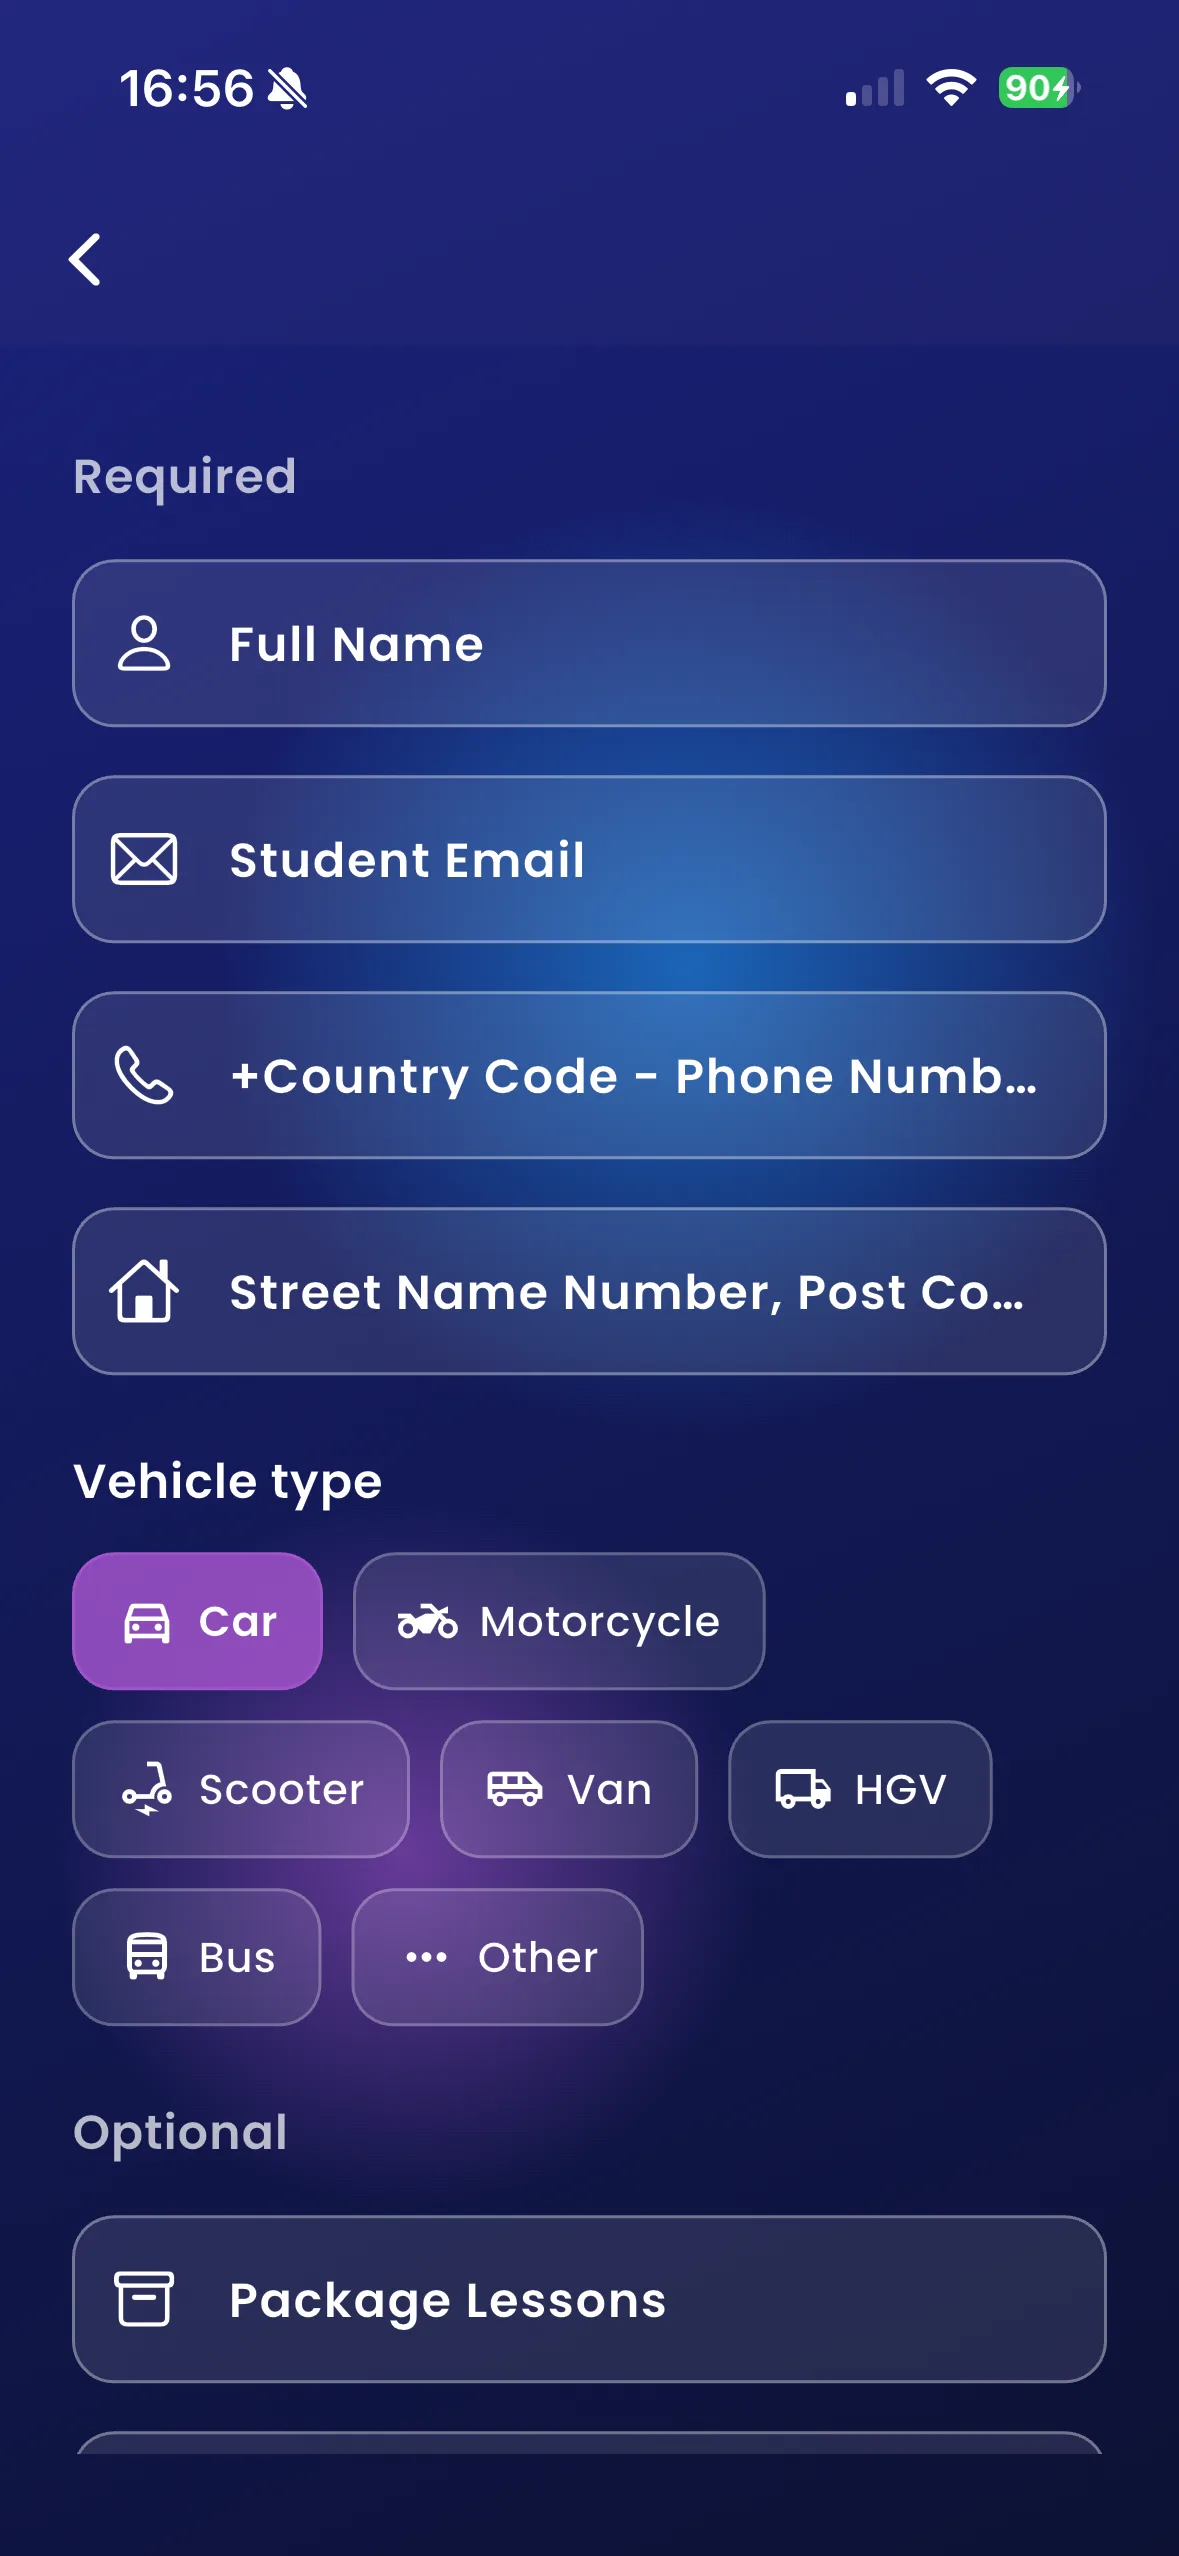
- Fill in the required name, email and contact fields. Review optional address, vehicle or package information shown in your version.
- Select Create Student and wait for success.
- Ask the pupil to sign in so verification is complete.
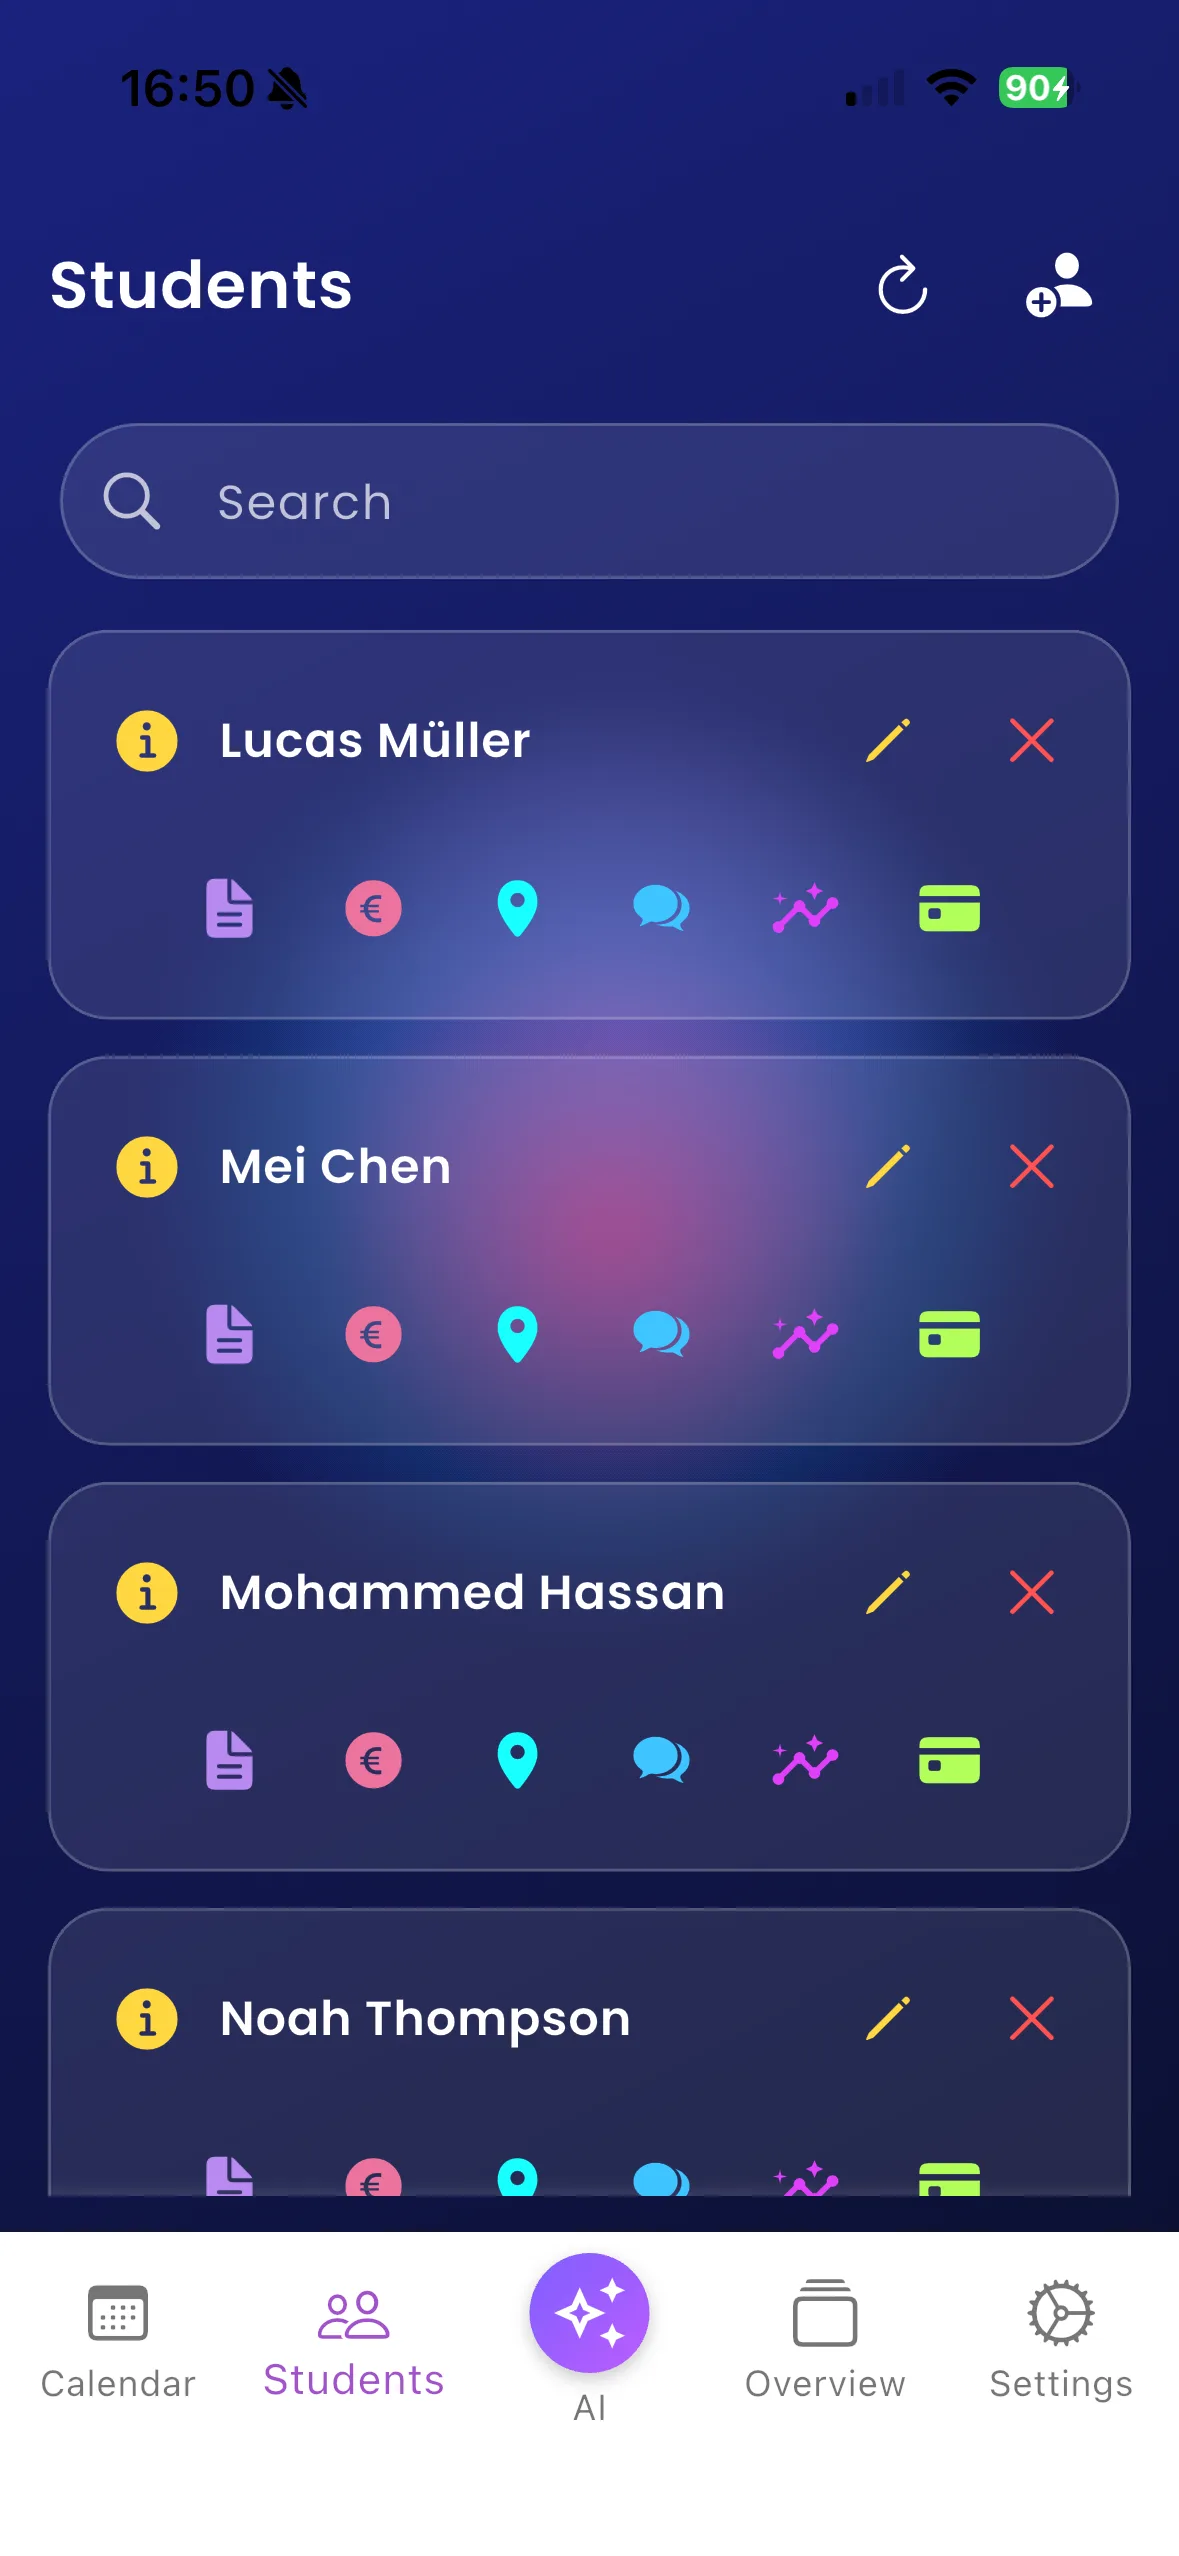
- Search for the pupil in Students and open their information and teaching actions.
- Use the appropriate action for lesson notes/history, payments, progress or an invoice.
For example, keep two pupils with similar names distinct by checking their email and contact details before planning lessons.
Important things to know
The app may require a verified pupil before allowing scheduling or payment changes. School assignments can be controlled by an administrator. Deleting a pupil is a separate confirmation flow and can affect account access and retained records; do not use it to hide an ordinary diary problem.
Troubleshooting
If the pupil cannot see lessons, check the email and account connection and refresh both devices. If you cannot edit a school-linked record, contact the administrator. When a record indicates the pupil deleted their own account, do not treat it as an active pupil.
Related features
Pupil connection · Communication · Progress
Add a new pupil
Use the add pupil option from Students. The required fields and vehicle type choices may differ by country or account type.